Some people asked me if I could write about specific Cosplay studios which I visited and would recommend to other Cosplayers.
If you can speak fluently Japanese and read/ fill out forms I would recommend the studios of
Hacosta. If you cannot speak Japanese you should bring a fluent speaking Japanese friend with you. If not you might be in trouble.
Although the staff is very kind, they don’t speak a single word English. They searched several times for me in order to explain things to my not Japanese speaking friends. The rules in the Hacosta studios are quite strict and you may get kicked out.
You also should not come dressed in your Cosplay. Always dress and change back at the studio itself. If you are coming dressed they might refuse your entry.
Hacosta
is a company which owns several studios in Japan:
Hacosta only owns share studios. You are paying an entry fee for a certain time frame (1.900 yen (5 hours)- 4.800 yen (10 hours)) and can use every photo setting which is not occupied freely. The time frame includes your changing and Make-up time.
You are allowed to use the pictures freely as long is it for your own promotion. Even making photo books/ print items and selling them is permissible.
The studios are offering lockers, changing rooms, a small restaurant, Cosplay goods, rental services and free Cosplay amenities. Hairspray, combs, bobby pins, cotton pads, scissors and more can be used for free.
The rooms are equipped with artificial day lights and can be turned off. You can find reflectors and ladders scattered all over at the studio. They are for free usage.
Hacosta only offers the studio settings. I haven’t seen any photographer service. So if you want to visit this studio always take a friend with you, who will make the pictures.
In Japan it is quite common just to go with a group of friends (all Cosplayer) and to take pictures of each other.
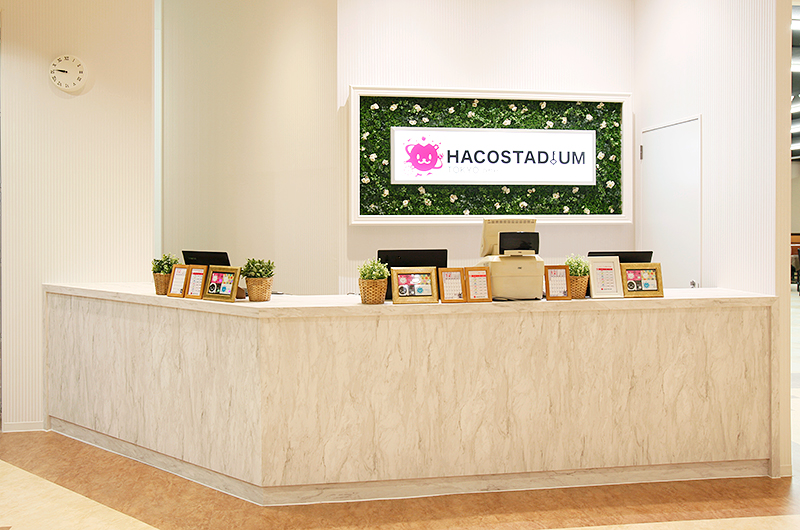 |
| Ticket counter (Picture by Hacostadium.com) |
Hacostadium Tokyo.one
claims to be the biggest Cosplay photo studio of his kind and offers more than 40 different settings. This studio is the newest one of Hacosta and has been opened at the end of November in Funabashi.
You should be aware that traveling to Funabashi will take at least 1 hour or more from Tokyo Station. If you are looking for an easier accessible studio, go for Ikebukuro or the studios in Osaka.
We decided to go for Tokyo.one because we wanted to enjoy such a studio as much as possible. So why not trying out the biggest studio in the world?
Presale:
I highly recommend buying a ticket before head. It will make things much easier and you can be sure to get an entry ticket. Hacostadium announces daily at twitter if tickets are still available. I noticed that you definitely should use the presale if you intend to go on Friday – Sunday, public holidays or event days.
On normal weekdays it shouldn’t be a problem. But you should try to be there at 9:30 am (opening time), to be sure to get a ticket.
 |
| Staca (Picture by Hacostadium.com) |
If you want to reserve you need to create a Staca account. Staca is the membership of Hacosta and you need this membership for everything you going to do in these studios.
After you created an online account you can just go to the calendar and buy your desired ticket. Be sure to fill out the forms correctly (the Google website translator don’t work on this side), it might cause trouble afterwards.
Be aware that you are booking the right studio/ day and time, because the tickets are not refundable. If you are going with friends everyone needs an own account. You can buy tickets for other people but need to pass the tickets to your friends online. So if they don’t have an account buying two tickets won’t help you because you cannot pass the ticket to your friend.
You will be named as ticketholder and the entry of your friend might be refused.
Also going to a Hacosta studio before head without a membership won’t help you, because you need a Japanese phone number for a presale ticket. If you already have a membership just going to the nearest Hacosta studio and buying a presale ticket works.
Ticket:
|
Ticketprice
|
Time frame
|
Normal
|
Presale
|
|
Weekdays
|
9:30-20:00 (10,5 hrs)
|
3.500 yen
|
3.200 yen
|
|
9:30-14:30 (5 hrs)
|
2.300 yen
|
2.000 yen
|
|
15:00-20:00 (5 hrs)
|
2.300 yen
|
2.000 yen
|
|
Weekend and public holiday
|
9:30-20:00 (10,5 hrs)
|
4.800 yen
|
4.500 yen
|
|
9:30-14:30 (5 hrs)
|
3.200 yen
|
2.900 yen
|
|
15:00-20:00 (5 hrs)
|
2.900 yen
|
2.600 yen
|
I already got an account on Staca but because my friends couldn’t manage to go through the Japanese page I didn’t bought a presale ticket online (because a refund is not possible).
So we checked if day tickets were still available and just went there.
The studio is located in a shopping mall. Hacostadium opens 30 minutes earlier than the mall so you have to wait at the main entrance (there is a Hacostadium flag). The staff will fetch you up and bring you to the ticket counter.
If it’s your first time you have to fill out some forms and than move to the ticket counter.
They will check your address and personal information’s. So be sure to bring an ID card which also contains your address. Because the staff couldn’t speak English she gave up asking my friend for an ID card with address…. So I am not sure if maybe a passport will just be enough.
In my cased they told me an ID card with address would be required.
I realized that the staff where panicking when they saw us and looked relieved after I started to translate. If you Japanese aren’t that fluent just give them a bit time. They have prepared English sheets for the ticket sale (but I guess only for the ticket sale…). They will do the registration silently while they are speaking to other costumer’s non stop.
After checking our personal information’s they will hand out your Staca card and give you a badge with a locker number.
From now on you are a Staca member and can earn Staca points. Which everything you are buying (even food and items) you can earn points and get a discount on the next ticket.
Changing:
 |
| Female changing room (Picture by Hacostadium.com) |
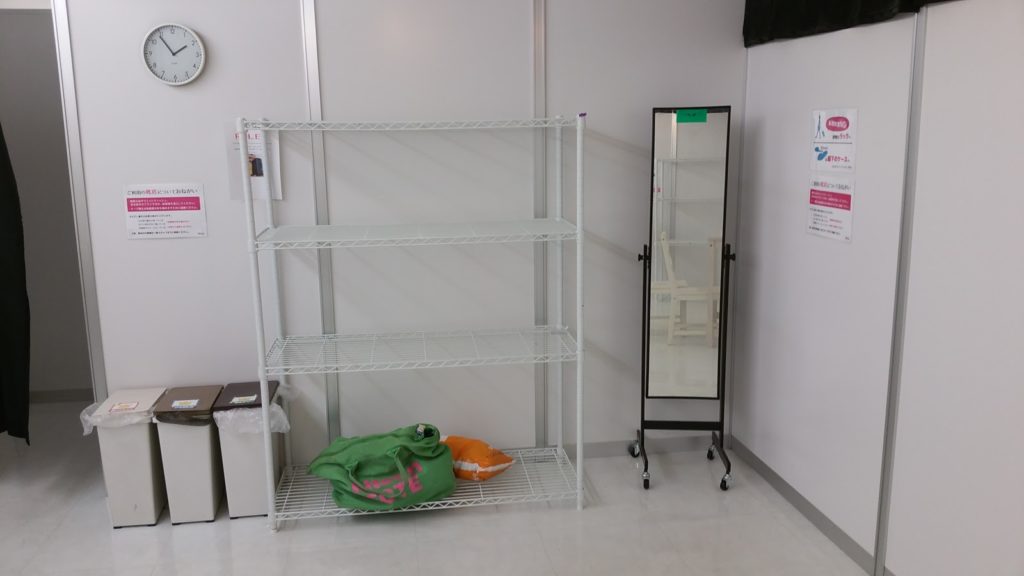
You can use your locker freely the whole time frame. You can place your whole things there and don’t need to drag them around with you.
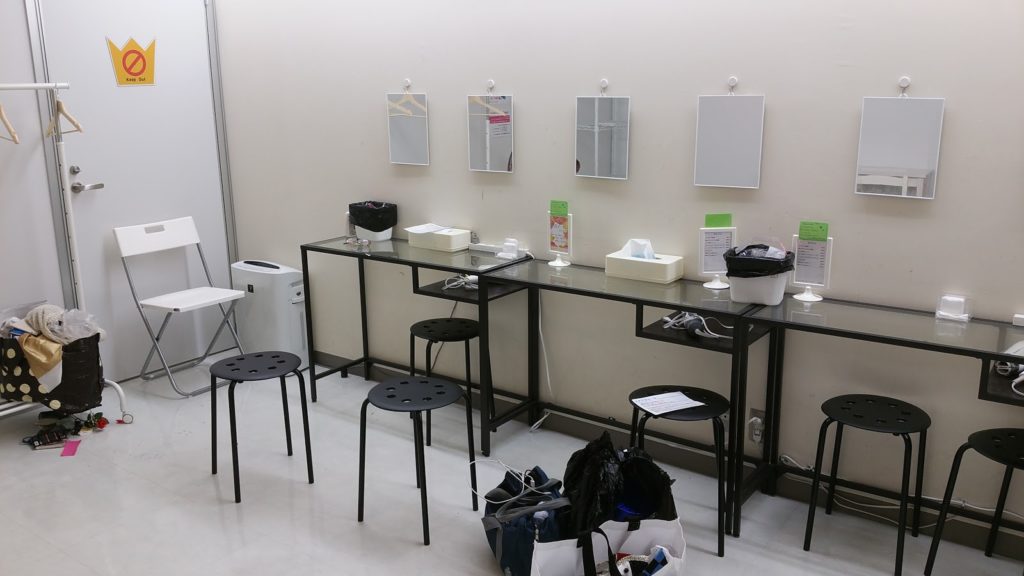
Next to the locker are private changing rooms. You can use them but normally you are using the big changing room. It is a big hall with some mirrors. You also find cotton pads, bobby pins etc there.
You just go there, sit down and make your make up and changing. It is quite common for Japanese to undress in front of others from the same gender. So don’t be bothered.
I would recommend to bring an own small mirror. We were lucky, because we were one of the first costumers there. But after a while the places with a mirror have been occupied.
Just try not to spread your things to much in order not to disturb others or to take too much space. Pictures are forbidden at the changing area. Also refrain from cutting your wig. Hacostadium provides an extra room for wig cutting which are equipped with scissors, combs and hairspray.
After changing you just put your things back to the locker and are ready for a shooting.
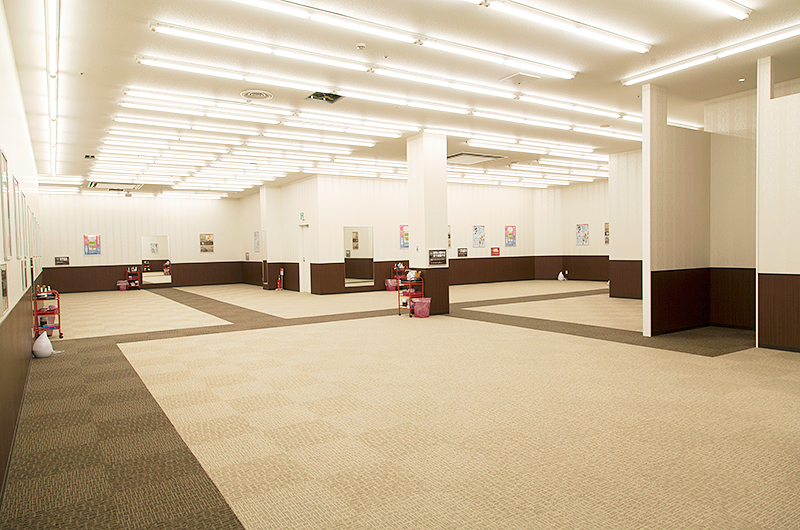
 |
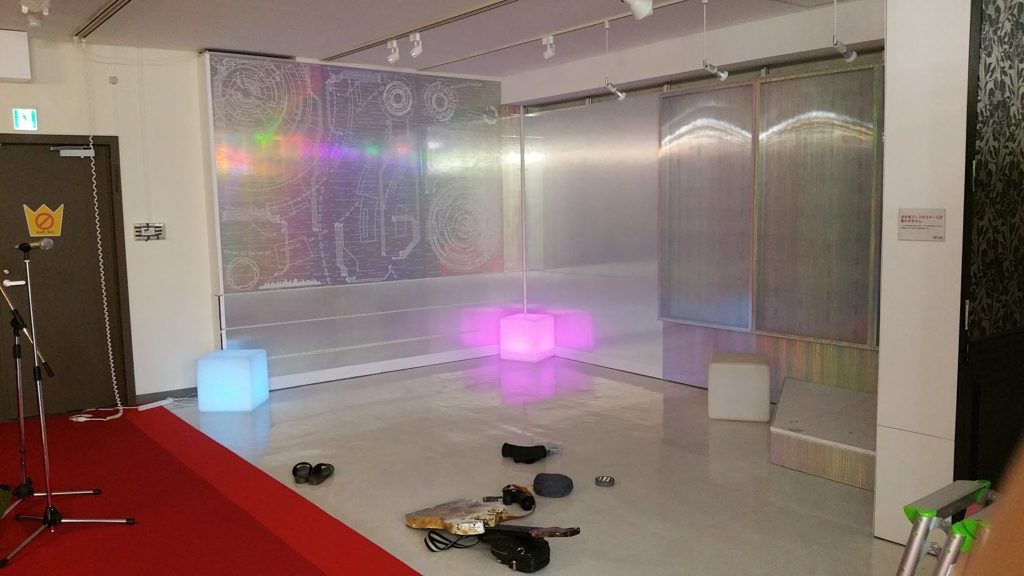
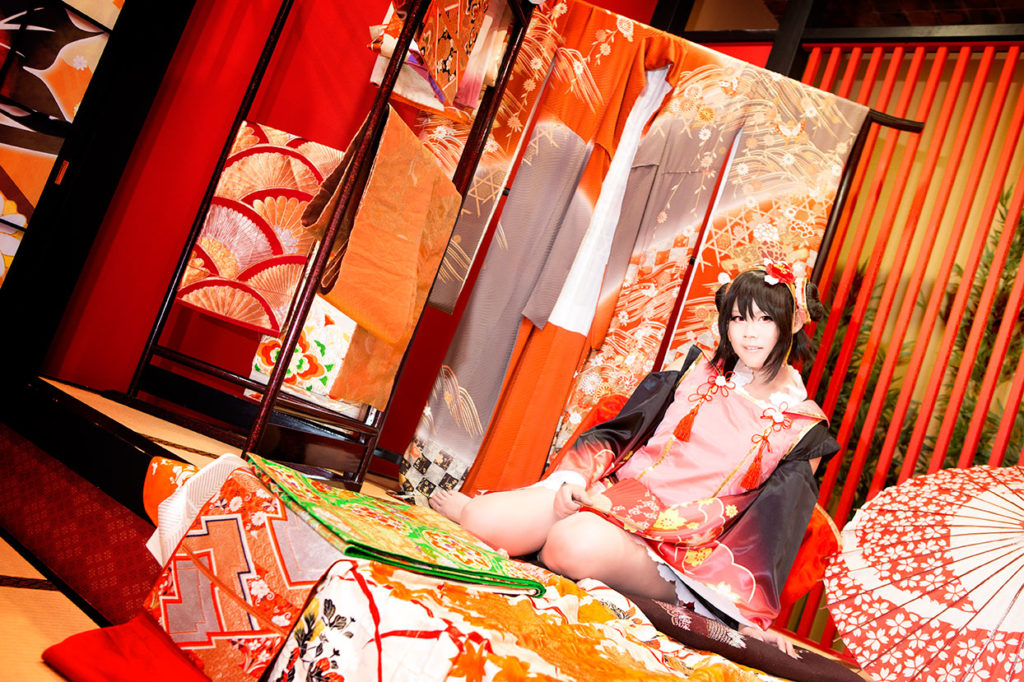
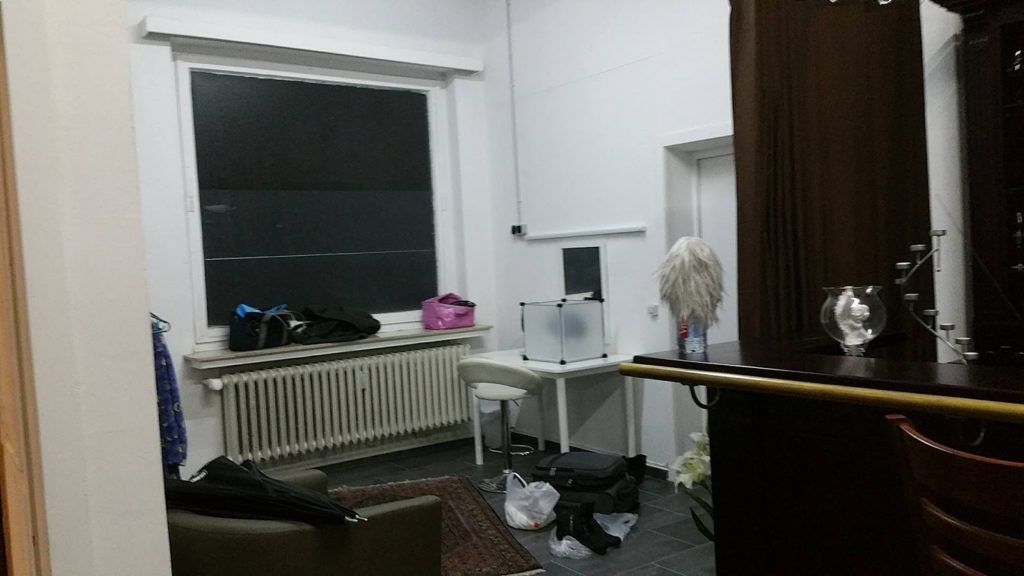
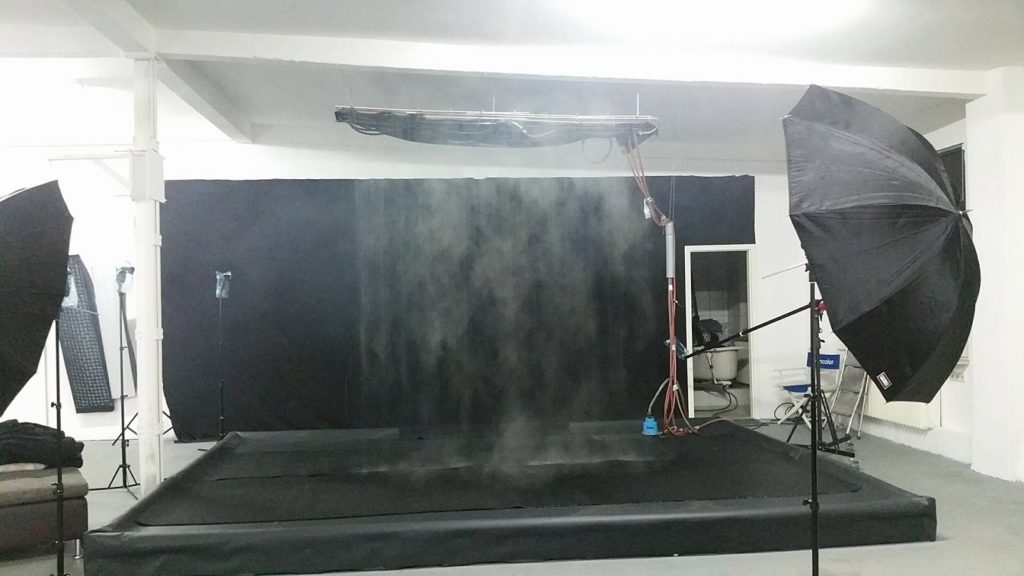
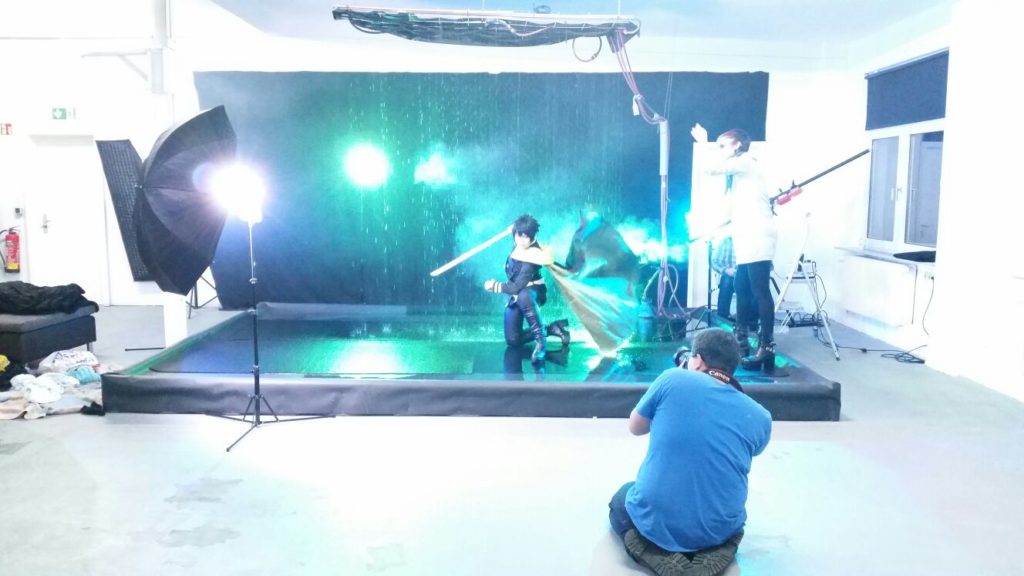
| Studio settings (Picture by me) |
Shooting:
Hacostadium Tokyo provides over 40 settings which are greatly designed and maintained.
Be aware that some shooting locations are the hallway which everyone uses. Try not to disturb other Cosplayers. If you want to cross a room or a hallway while people are shooting, please ask politely.
If a room is occupied, don’t just go to another corner and make pictures there. Wait until they are finished, but try not to wait too obviously.
Before entering a setting there are wet tissues for your shoes. Please clean your shoes before entering the settings in order to keep them clean.
At some settings shoes are not allowed. You can recognize these places with a shoe shelf at the entry (of course there is also a sign in Japanese). Put your shoes into the shoe shelf and go in. Even if you are wearing clean “Cosplay shoes” please refrain from taking them in.
You are allowed to use everything in the room you can find and to change the setting to your liking, just be sure to put everything back to his place.
Generally drinking and eating at the shooting area is permitted. But you are allowed to drink and eat at the café settings. I saw a lot of Cosplayers bringing their McDonalds breakfast to the café setting and to make pictures while having breakfast.
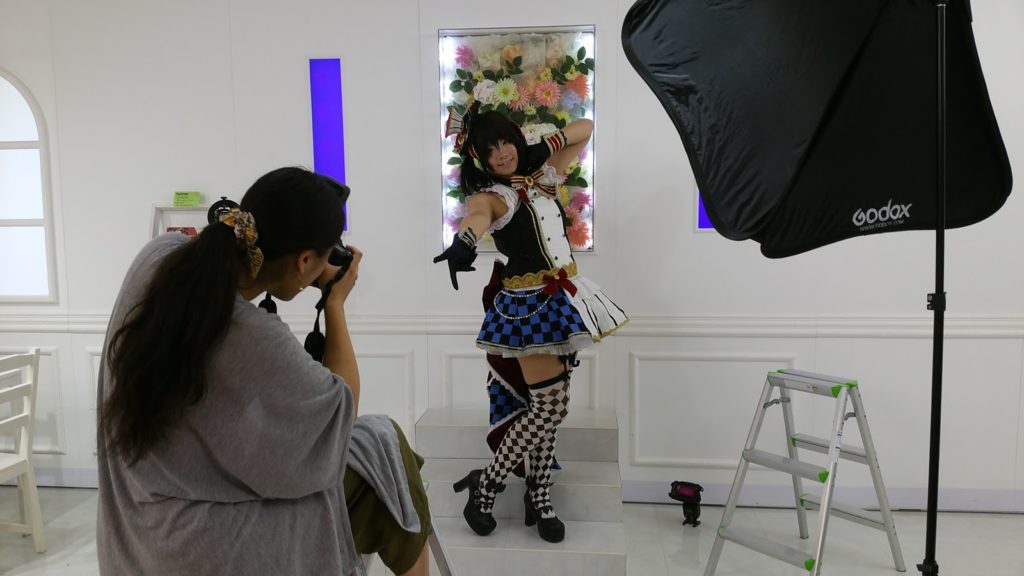
As a Cosplayer:
Try not to wear Cosplays which are taking up too much space. Also wear shorts if you are wearing a short skirt.
As a photographer:
Regarding to flashes and photo equipment there are a lot of rules, because you may block the way while shooting at the hallway. You are only allowed to bring a limited number of flashes, soft boxes etc. Please inform yourself before head to avoid trouble.
Don’t just take pictures of other Cosplayer. Please ask politely if you want to make a picture.
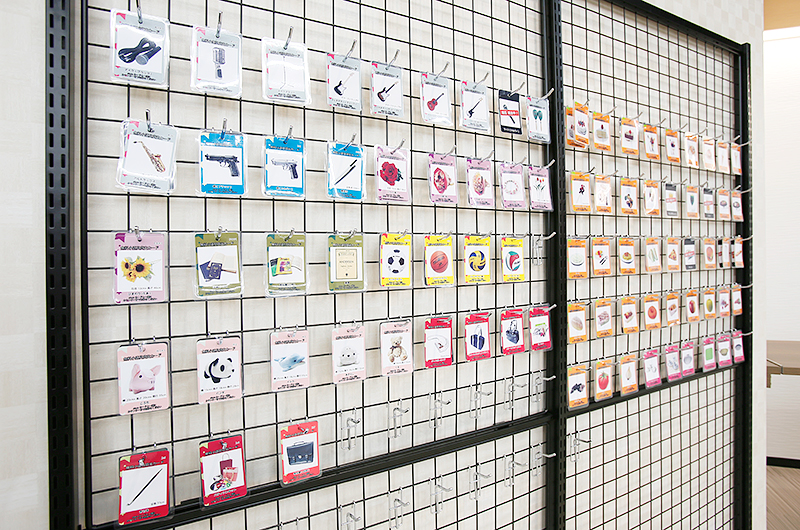 |
| Free rental items (Picture by Hacostadium.com) |
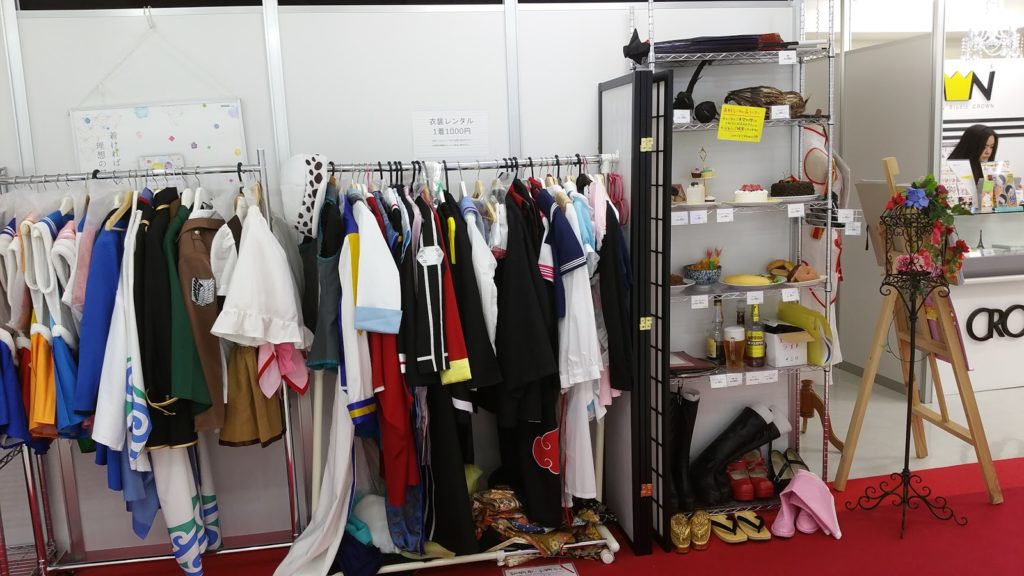
Rental services:
I really like, that you can rent Cosplay accessories for free. You can rent as much items you want, as long as you want and just return them after the shooting.
Next to the service counter you will find a wall with paper cards. Just take the paper cards which are showing the desired items, take them and go to the service counter.
The staff will gather your items, give you a bag for an easier transportation and scan your Staca card. When you are returning, they will check if you have returned everything and scan your Staca card again.
Afterwards you can rent new items for free.
You also have the possibility to rent a Nikon or Canon camera for free (2 hours) afterwards they will charge you 300 yen for the rest of the day.
They also provide flash, soft box, lens, SD card etc. renting service. A lot of items are free for the first 2 hours. You won’t pay more than 1000 yen for a rental (mostly about 500 yen). I think this is a good an affordable choice if you cannot bring your own equipment or just don’t have any space in your baggage left.
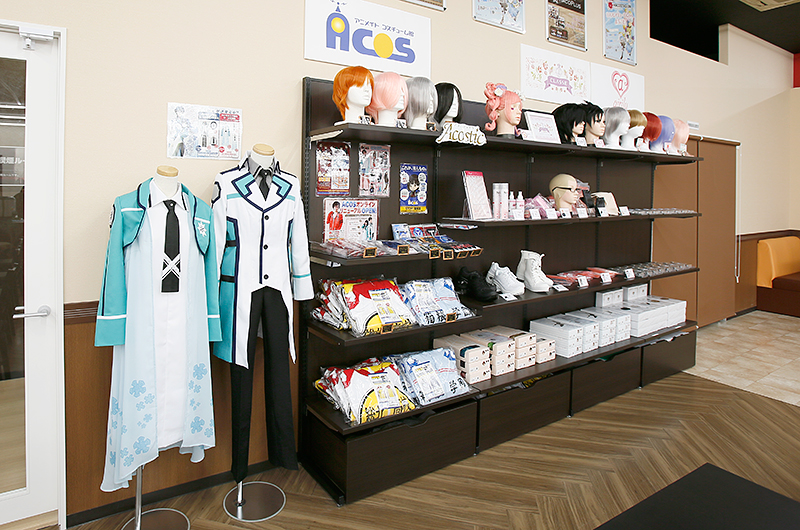 |
| ACos shop (Picture by Hacostadium.com) |
Hacoplus:
Hacoplus is the restaurant and ACos area which you can find directly at the entrance,
The food is very affordable and tasty. You can also get the food and bring it to the café area setting to make pictures with it. The staff always tries to let the food look good. That’s why you can use it as a shooting accessories without hesitation. The restaurant also provides free water.
If you forgot some Cosplay items like wigs, contact lenses etc. you can buy them at Hacoplus. They only have a small corner with Cosplay goods but still enough to rescue yourself last minute.
Personal opinion:
I was a bit shocked how helpless the staff was regarding to my non Japanese speaking friends. My friends had a lot of trouble with communication and they were always searching for me. I was even surprised how much you need to communicate at such a studio (otherwise I would say; Ok just don’t communicate).
But all in one the staff was super polite and friendly, always gave their best to make it as comfortable as possible and were cleaning non stop. It was so clean…. Japanese toilets are great and clean but the most luxurious toilets I have seen in Japan were at Hacostadium and the Butler Café….
The settings are just amazing and very well maintained. The variety of free rental objects are great. The possibilities are just awesome and not even a bit comparable with the situation we have here in Germany.
The light was very good (although you really need a flash) and the other Cosplayers where always very considerate. Although we saw a lot of Cosplay groups it was always very silent and everyone tried their best not to disturb others, even if someone blocked the whole hallway. They just waited patiently.
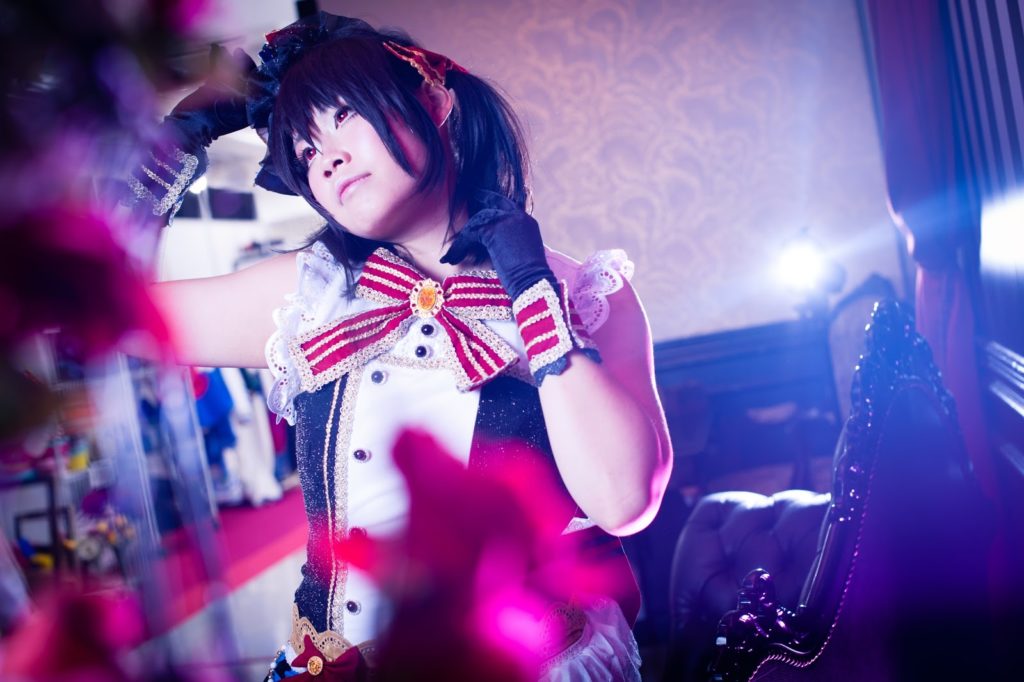
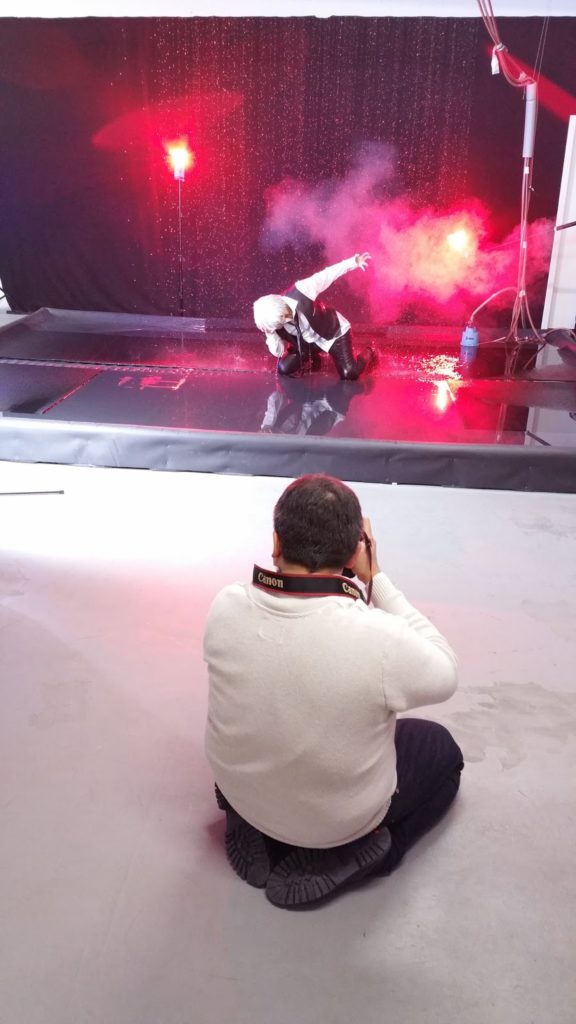
 |
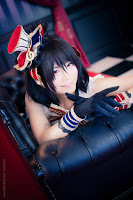
| Picture by Meermiau |
The food was very good and we really enjoyed the affordable flash rental service.
You could feel that the studio do his best to fulfill every need a Cosplayer might have during a shooting.
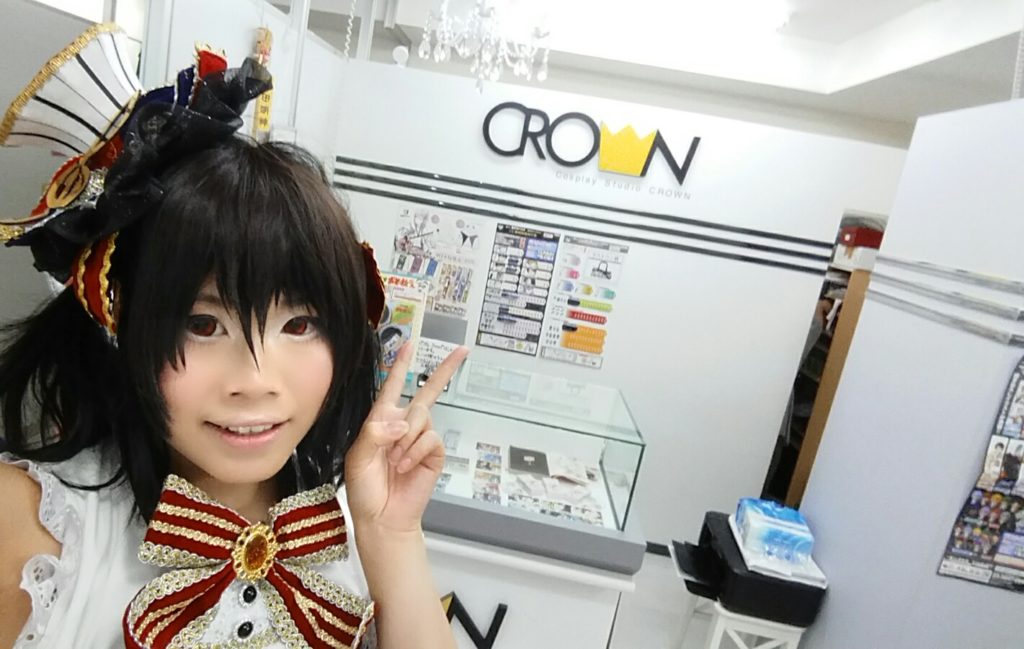
It was an amazing experience and I would recommend everyone to try it out once!
If you have any questions, please feel free to ask.

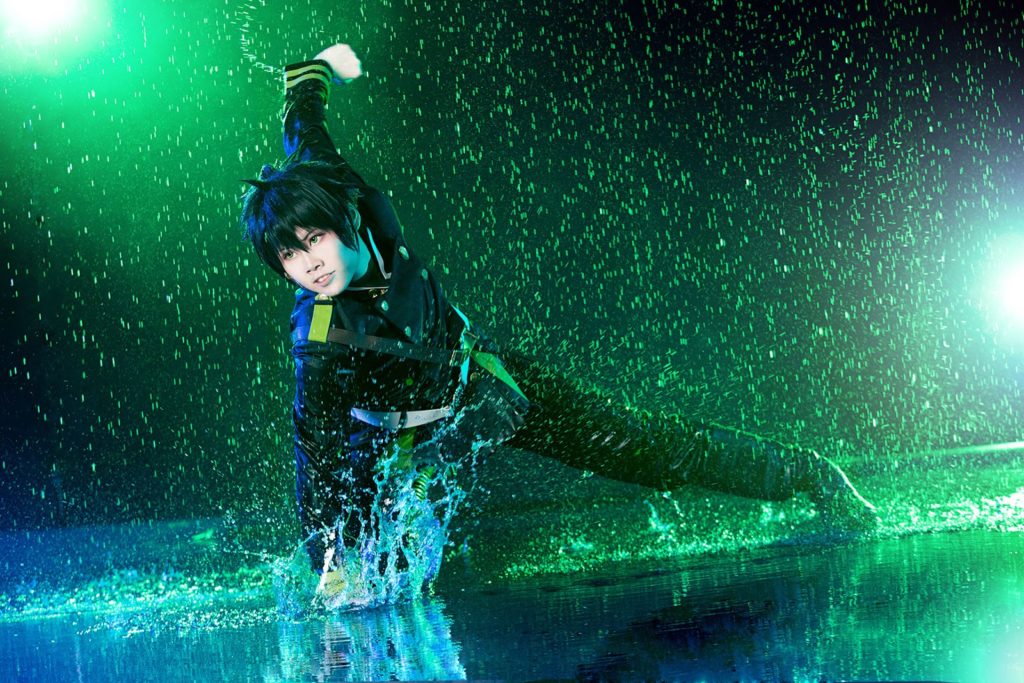


 Although the water is warm, it can be a quite freezing experience.
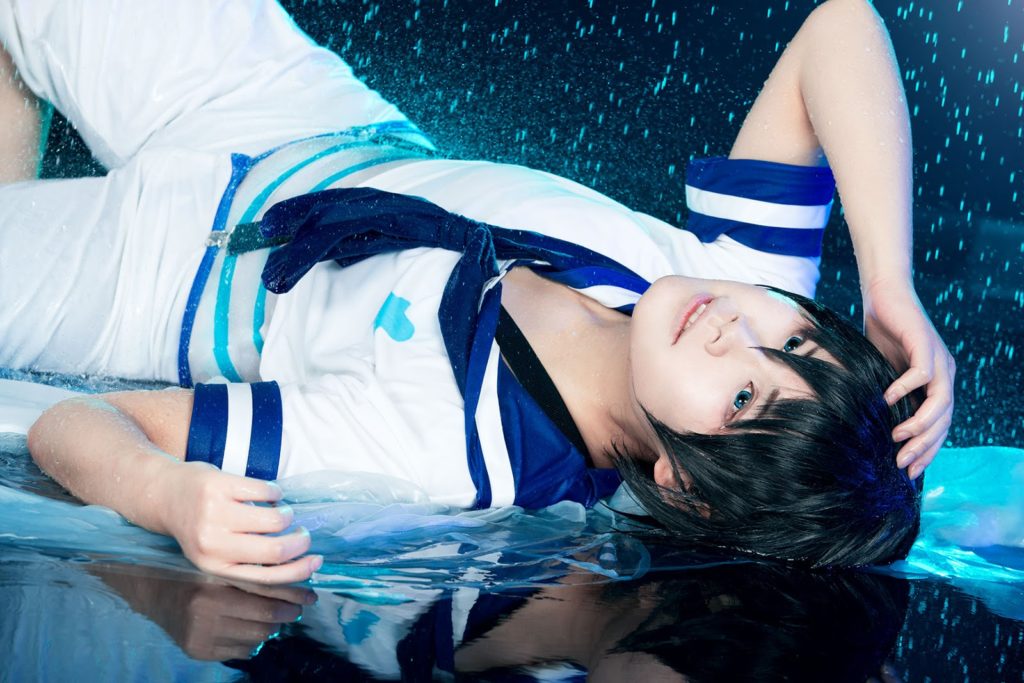
 My opinion: